Inset cabinets are the gold standard in fine cabinetry. Clean lines, custom looks, and a timeless charm; that’s the promise. But if you’ve ever tried installing them yourself, you know they don’t just snap into place. Precision is everything.
This guide goes beyond how to install inset cabinets–it will walk you through the craft of flawless inset cabinetry, filled with pro techniques that make the difference.
Whether you’re a confident DIY homeowner or managing a high-end remodel, we’ll help you get that seamless, built-in look right the first time.
Why Inset Cabinets Require Extra Attention
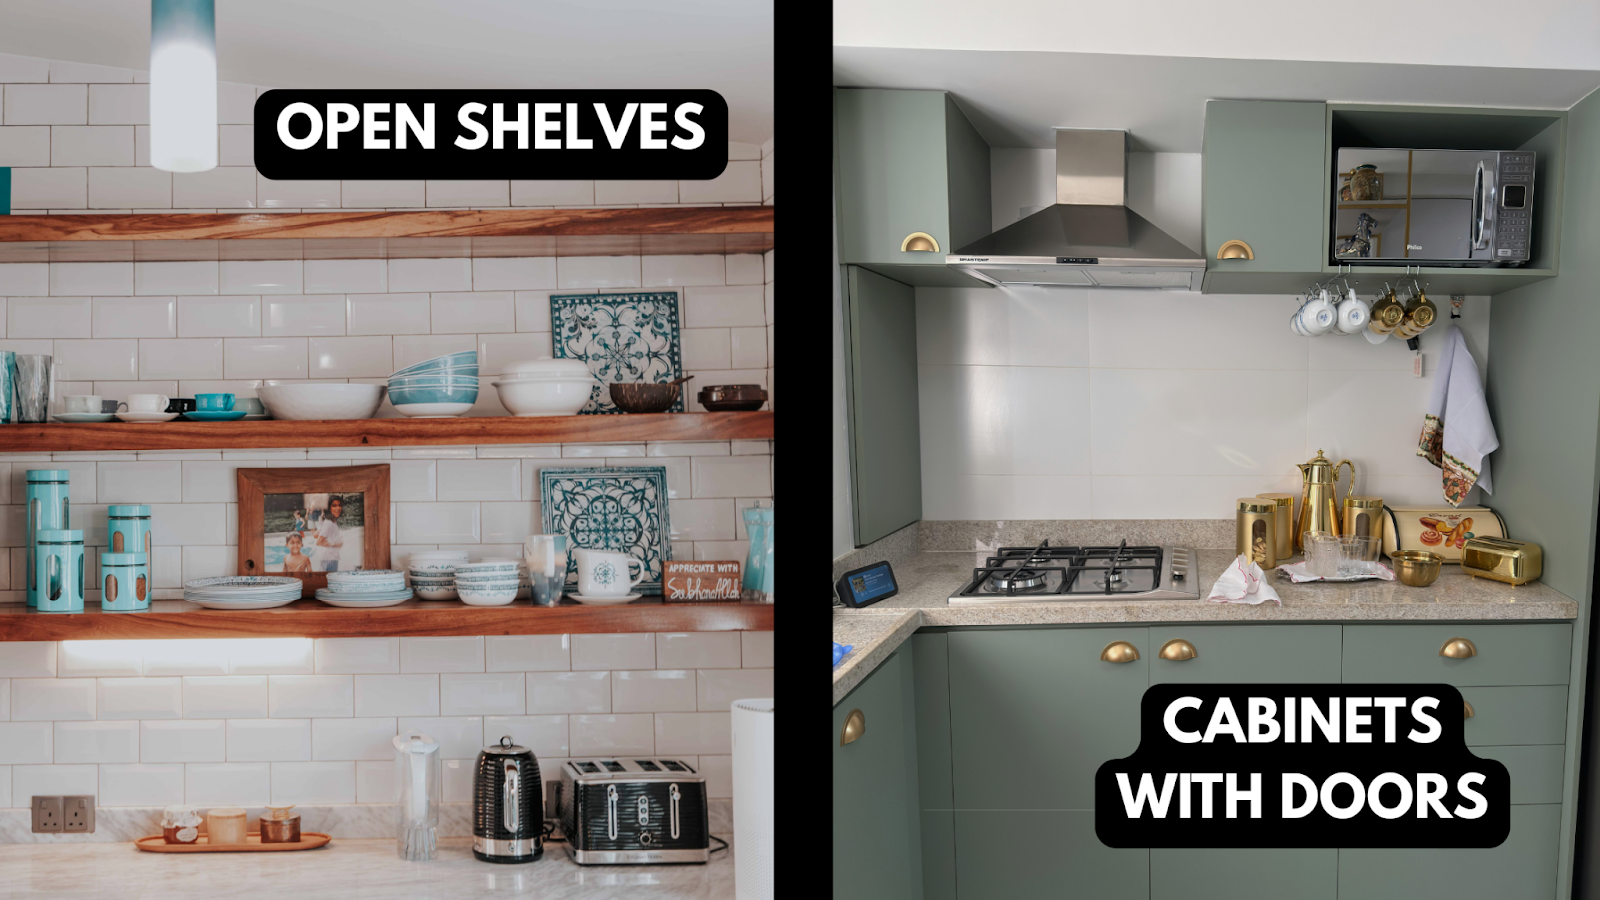
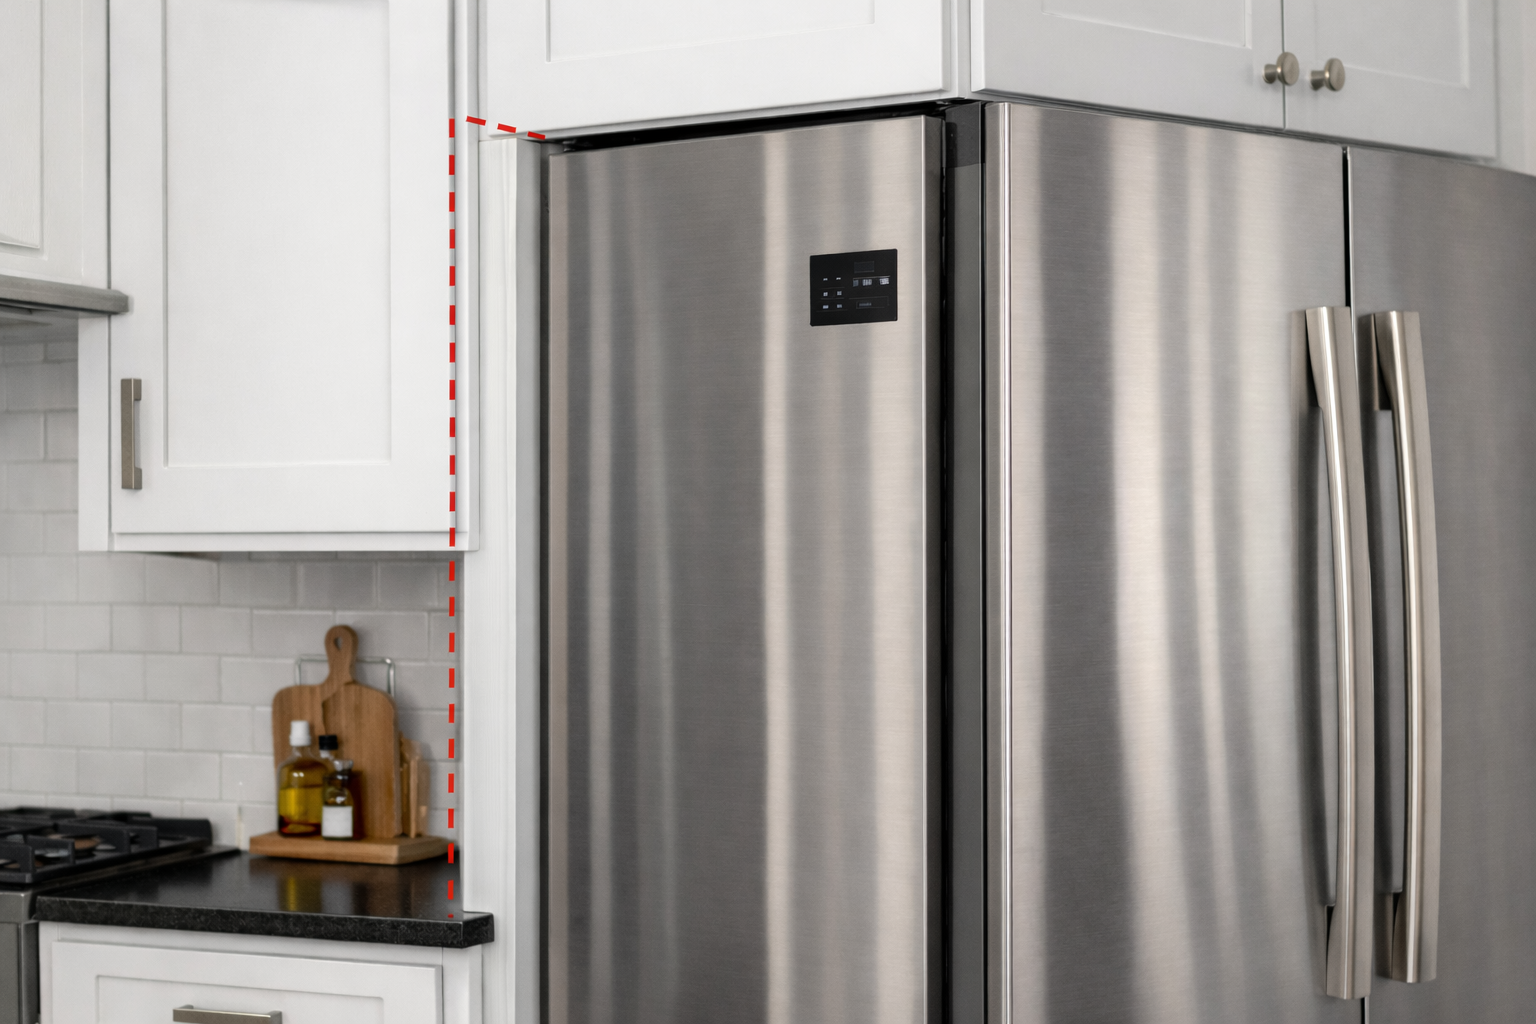
Inset cabinets differ from overlay cabinets in one key way: the doors and drawer fronts sit flush inside the cabinet frame. That means there’s virtually no room for error. Even a 1/16 inch misalignment is noticeable.
The upside? When done to precision, inset cabinetry looks refined, intentional, and incredibly high-end.
The challenge? They’re less forgiving. But with the right tools, guidance, and a little patience, you can get there.
📝 Planning Tip: Before installing, consider sketching your cabinet layout to visualize door swings and traffic flow. Taking time upfront saves hours later.
Tools and Materials You’ll Need
Before you reach for your drill, gather the essentials:
Tools
- Level (preferably a long one): For perfectly horizontal cabinets.
- Cabinet jack or shims: For leveling and supporting cabinets during installation.
- Cordless drill and driver: For drilling holes and driving screws.
- Clamps: For holding cabinets in place while securing them.
- Tape measure: For accurate measurements.
- Rubber mallet: For gently adjusting cabinet positions.
- Combination square: For checking the squareness of cabinet corners.
- Brad nailer (optional for trim): For attaching trim pieces faster.
Materials
- Inset cabinet boxes and face frames: These are the main components of your cabinetry (shop iCabinetry’s inset cabinets).
- Hinges (typically European or concealed): Allow doors to open and close smoothly.
- Drawer slides (full-extension recommended): They provide full access to drawer contents.
- Wood filler or color-matched caulk: For final touch-ups and sealing gaps.
👉 Pro Insight: Check that your workspace is clean and well-lit. Inset cabinetry is an art, and every small slip shows.
Step-by-Step: How to Install Inset Cabinets
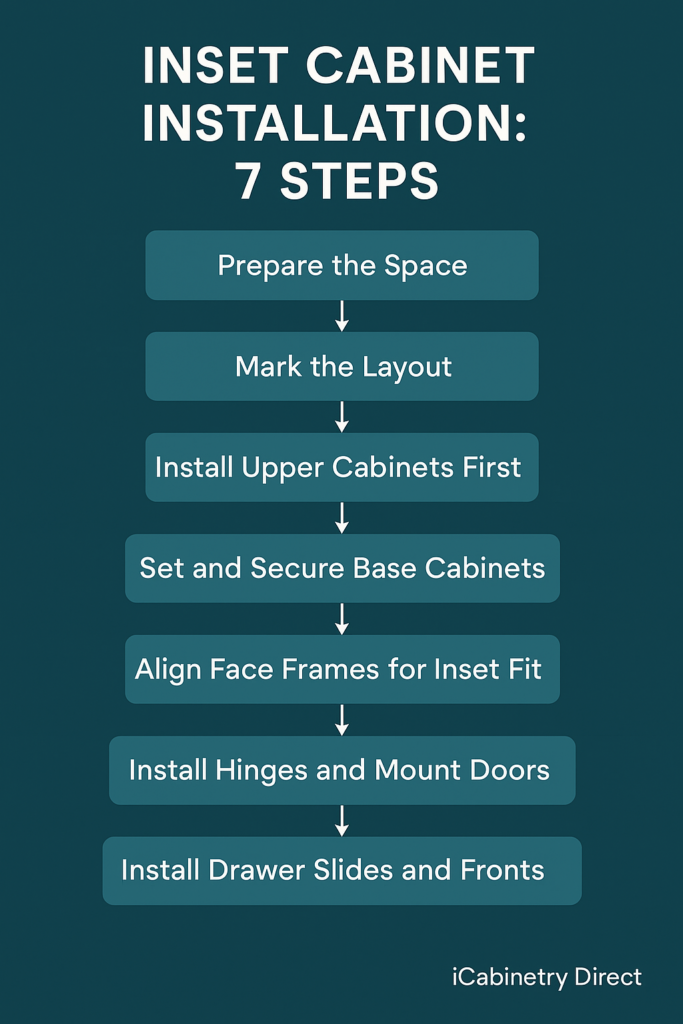
1. Prepare the Space
Begin by removing old cabinetry and checking that the walls and floors are level and plumb. Fix any irregularities by shimming or sanding as needed.
Want to do it like the pros? Use a laser level to detect any dips or humps in the wall. This tool offers a continuous level line to more easily spot any imperfections.
2. Mark the Layout
Identify the highest point on the floor and measure up 34.5 inches to mark the base cabinet height.
Snap a level line across the wall at this height. Mark stud locations, as these will be your anchor points for securing cabinets.
3. Install Upper Cabinets First
For unobstructed access, mount the upper cabinets first.
Use a ledger board temporarily screwed to the wall to support the cabinets during installation.
Pre-drill holes at stud locations to prevent wood splitting and to ensure screws go in straight for a stronger hold.
4. Set and Secure Base Cabinets
Start at the corner and move outward. Set the first cabinet and level it side-to-side and front-to-back using shims underneath. Secure through the cabinet back and into the studs.
Use clamps to align face frames before screwing adjacent cabinets together.
Troubleshooting: Notice any gaps between units? Double-check your shimming and add a cabinet filler strip to bridge any irregularities in the wall.
5. Align Face Frames for Inset Fit
This is where the magic (and the headache) happens. Your cabinet boxes must be perfectly square and aligned. Even slight shifts will affect how your doors and drawers fit.
Place a temporary spacer block in the opening to mimic the door spacing as you adjust frame alignment.
If you’re working solo, clamp blocks inside the cabinet openings to hold frames in place while you fasten. Think of it as your third hand.
6. Install Hinges and Mount Doors
When installing inset cabinet doors, use a hinge jig for consistent hole placement.
Mount doors inside the face frame, maintaining an even reveal, typically 1/8 inch. Adjust hinges to center the door and ensure it’s flush with the frame.
👉 Pro Insight: A playing card can be a handy spacer to achieve uniform gaps around doors.
7. Install Drawer Slides and Fronts
Mount the slides inside the cabinet, making sure they’re level and flush. Then align and install the drawer box.
Once drawers operate smoothly, attach the drawer fronts flush with the cabinet face. If you think you’ll want to make adjustments before permanently fastening, use double-stick tape to temporarily position drawer fronts.
Need more help? Check out this article on how to install drawer fronts for added support.
Common Challenges (& How to Fix Them)

Due to the precision required for DIY inset cabinet installation, it’s normal to experience some snags.
The chart below covers the four most common challenges, their likely causes, and potential solutions.
| Problem | Likely Cause | Solution |
|---|---|---|
| Uneven gaps around doors | Misaligned hinges or framing | Adjust hinges or square cabinets |
| Doors won’t close smoothly | Hinge tension or alignment | Adjust the hinge tension or reposition |
| Drawer fronts are not flush | The box is too deep or shallow | Adjust the box or shim the drawer front |
| Cabinets shifting post-install | Not enough fasteners or shimming | Secure to studs at multiple points, recheck shims |
If you’ve overcome these roadblocks, it’s time to wrap up your project. Apply a wood filler or matching caulk to hide any nail holes and seams.
Feel free to add soft-close dampers and touch up exposed edges with matching paint or marker for the ultimate finish.
Ready to dress up your install with sleek fixtures? Explore these tips for choosing the right hardware for your inset cabinets.
When to Call in the Pros
Sometimes, even with the right tools, you hit a wall.
- You’re dealing with wonky walls or unlevel floors.
- Cabinet reveals look right… until the lighting hits them.
- You’ve spent hours tweaking, and nothing is lining up.
That’s a cue to bring in the experts.
At iCabinetry, we do more than sell high-end inset cabinets. We offer concierge-level support to ensure they’re installed as beautifully as they’re designed.
📞 Contact iCabinetry’s specialists for tailored guidance or to be connected with certified installers in your area.
With patience, precision, and expert guidance, inset cabinets can transform your kitchen for years to come.
Choose iCabinetry Direct for Your Inset Cabinets
- Precision Craftsmanship: Our cabinets are manufactured with exacting standards.
- Premium Materials: We use high-quality materials for durability and aesthetics.
- Expert Support: Our team provides guidance from planning to installation.
- Streamlined Process: Enjoy a hassle-free experience and exclusive wholesale pricing.
Ready to transform your space with inset cabinets? Explore our collection and consult with our design experts to bring your vision to life.
FAQs About Inset Cabinet Installation
What’s the difference between inset and overlay cabinets?
| Feature | Inset Cabinets | Overlay Cabinets |
| Look | Flush, custom | Traditional, framed |
| Difficulty | Advanced | Easier |
| Cost | Higher | Moderate |
| Installation | Precision required | Forgiving |
Inset cabinets have doors and drawers that sit flush within the cabinet frame for a seamless look. Overlay cabinets have doors and drawers that overlap the cabinet frame, providing a more traditional appearance.
Do inset cabinets cost more to install?
Yes. Due to the precision required, inset cabinets typically involve higher installation costs. However, the investment results in a high-end, custom appearance. If you’re looking for more affordable cabinets, consider the overlay style.
What’s the standard gap (reveal) for inset doors?
A consistent 1/8 inch gap is standard, ensuring doors and drawers operate smoothly without binding.
Can I retrofit existing cabinets for inset doors?
Retrofitting is complex and often not cost-effective. We recommend installing purpose-built inset cabinets for the best results.