Nothing throws off the look of a kitchen faster than a crooked cabinet door. One minute your space feels polished, the next it’s hanging unevenly, sticking, or refusing to close.
If your cabinet door won’t close, the problem is usually a misaligned hinge. Most issues can be fixed by adjusting one of the three hinge screws: side-to-side, height, or depth—no costly replacement needed.
Luckily, DIY hinge fixes work for overlay, inset, or concealed styles. In this guide, we’ll break down hinge types, show step-by-step troubleshooting and repair methods, and share tips for upgrading to soft-close. A few simple tweaks can keep your doors aligned and smooth for years to come.
Hinge Troubleshooting: Quick Guide
| Problem | Common Causes | Quick Fix | Tools Needed |
| Door won’t close | Misaligned hinge | Adjust screws / reposition | Screwdriver, level |
| Door sticks | Wood expansion, humidity | Sand edge or adjust hinge | Sandpaper, screwdriver |
| Loose hinge | Stripped screws | Reinforce with anchors / replace | Screw anchors, screwdriver |
| Soft-close fails | Tension too low / worn | Adjust tension or replace damper | Screwdriver, soft-close kit |
| Detached hinge | Hinge ripped from door | Patch hole, reinstall with filler | Wood filler, screws, drill |
This cheat sheet gives you a quick look at the most common hinge headaches and how to handle them. Keep reading for more detailed instructions on your specific issue.
Types of Cabinet Hinges
Different hinge types require different fixes. Here are the main ones you’ll come across:
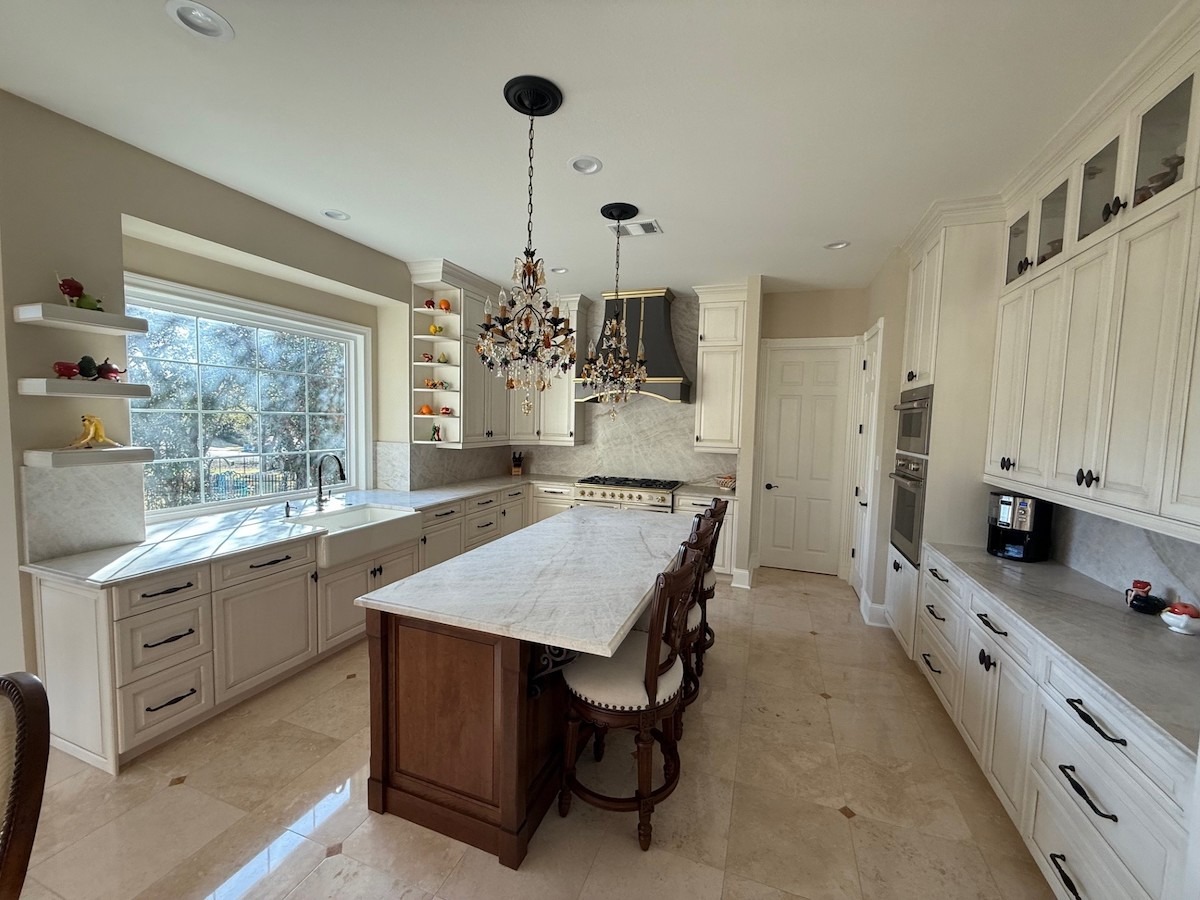
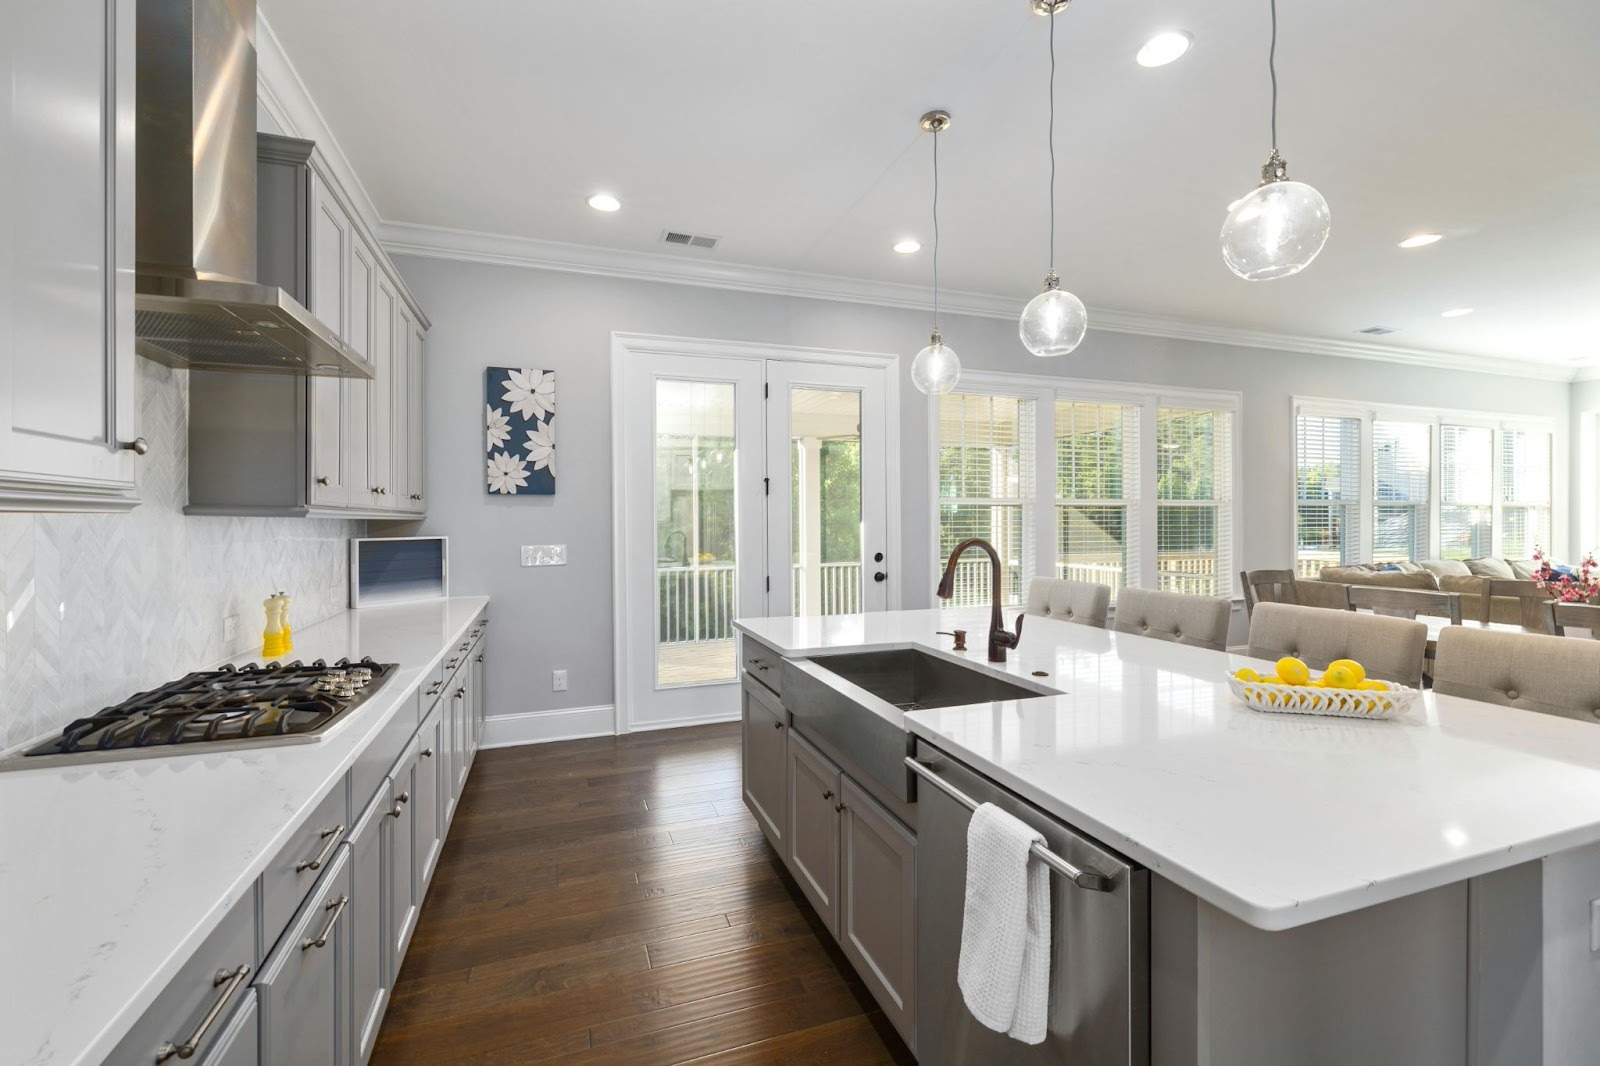
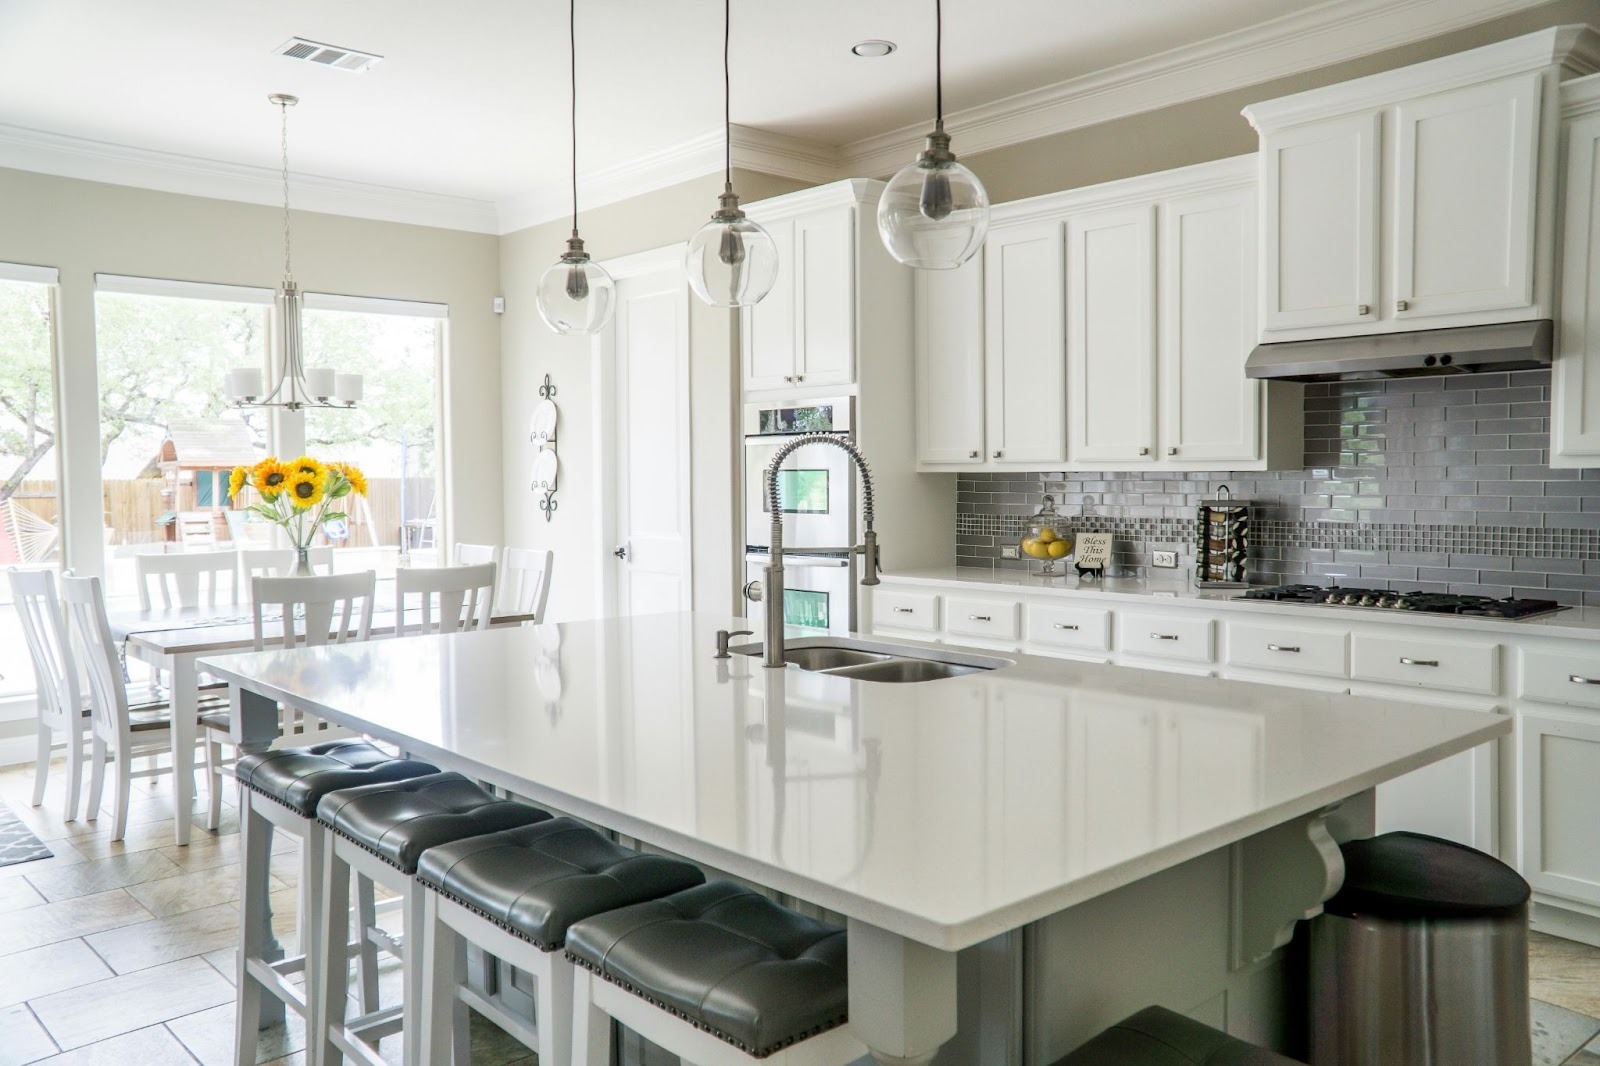
- Overlay hinges: Sit on top of the cabinet frame. Most common and easiest to adjust. Popular on iStyle Custom lines by Starmark.
- Inset hinges: Doors sit flush inside the frame. They create a seamless, furniture-like look but require precise alignment. Common in inset kitchen cabinets.
- Concealed / European hinges: Hidden from view, adjustable in three directions. Found on sleek modern lines like iEuro Custom by Ultracraft.
- Self-close / soft-close hinges: Include built-in dampers to prevent slamming. Many overlay and concealed hinges can be upgraded with soft-close hinge kits.
- Exposed / decorative hinges: Style-forward and visible; adjustments are similar but more noticeable.
🛠️ Pro Insight: Knowing your hinge type before you start will save you hours of guesswork. Here’s a handy guide on hinge types. →
How to Install or Adjust Cabinet Hinges (Step-by-Step Guide)
Step 1: Gather Your Tools
- Phillips screwdriver
- Small flathead screwdriver for fine adjustments
- Soft cloth or towel to protect cabinet finish
- Optional: level tool, if your doors are crooked
Step 2: Identify the Problem
- Crooked doors? Likely sagging or misaligned.
- Gap too wide or tight? Side-to-side adjustment screw may need tweaking.
- Door not closing fully? Check the depth adjustment.
- Loose or squeaky hinge? Usually just needs tightening.
🛠️Pro Insight: Most cabinet lines like the iStyle Custom by Starmark or iEuro Custom by Ultracraft are designed with soft-close, adjustable hinges. No need for fancy tools or a pro to get things back in line.
Step 3: Make the Adjustments
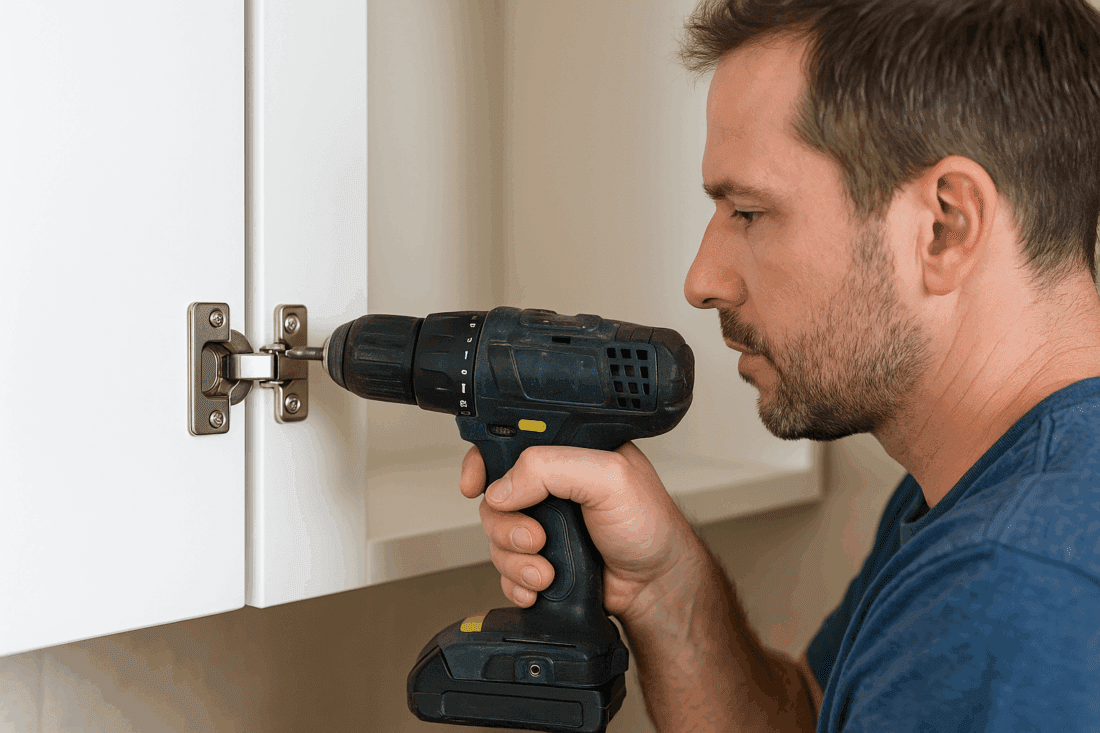
Every European-style concealed hinge has three adjustment screws. Here’s how to use them:
Side-to-Side Screw (closest to the door edge):
- Turn clockwise to move the door closer to the cabinet frame.
- Turn counterclockwise to move it away.
- Perfect for correcting uneven spacing between doors.
Height Adjustment (on the mounting plate):
- Loosen, slide the hinge up or down, then tighten.
- Ideal for sagging or lopsided doors.
Depth Adjustment (furthest back in the hinge):
- Turn clockwise to bring the door closer.
- Turn counterclockwise to push it out.
- Fixes doors that don’t fully close or stick out.
🛠️ Pro Insight: Inset cabinets are less forgiving than overlays. Even a 1–2 mm misalignment is noticeable. Take your time with these adjustments.
Step 4: Tighten Screws Securely
- Ensure all screws are snug once everything is aligned.
- Avoid over-tightening; This can strip screw holes, especially on particle board.
Step 5: Troubleshoot Common Issues
- Door won’t stay closed? Springs inside the hinge may be worn—consider hinge replacement.
- Door closes too hard? Adjust soft-close tension (if available).
- Cracked screw hole? Fill with wood filler or insert a slightly larger screw.
- Need a replacement hinge? iCabinetry lines use industry-standard concealed hinges, making replacements easy to source.
Step 6: Preventive Maintenance
- Wipe hinges with a dry cloth occasionally to remove dust and grime.
- Avoid slamming. Soft-close hinges are tough, but not indestructible.
- Do a quick hinge check every six months to spot misalignments early.
Keep in mind, seasonal humidity may require minor tweaks twice a year. Keeping a small repair kit handy saves time and headaches later.
Cost & Time Estimates
| Fix Type | Time | Cost (Per Cabinet) | Notes |
| Screw adjustment | 5–15 min | $0 | DIY-friendly |
| Soft-close upgrade | 15–30 min/door | $10–$30 | Easy on overlay/concealed hinges |
| Detached hinge reattach | 15–45 min | $5–$20 | Wood filler or anchors needed |
| Replace broken hinge | 15–30 min | $5–$50 | Brand-dependent |
Pro Tips, Hacks & Common Mistakes to Avoid
Even the most beautiful cabinets can lose their shine if the hinges aren’t chosen or installed correctly. Here’s where homeowners often trip up—and how to avoid those pitfalls with some insider tricks.
Mistake #1: Mixing up inset and overlay hinges.
Inset cabinets need hinges designed to sit flush with the frame. Using overlay hinges here creates alignment issues and doors that don’t close properly.
Always check the manufacturer’s hinge recommendation first. For example, Starmark’s iStyle Custom Inset line comes with hinge options built specifically for flush-mount designs.
Mistake #2: Forgetting about door clearance.
Overlay cabinets require space for the door swing. If you don’t factor this in, doors may collide at the corners.
Before buying, open a tape measure and “mock swing” the door to see if it clears appliances and walls.
Mistake #3: Choosing hinges based only on looks.
Sleek concealed hinges look seamless, but they can be trickier to repair.
If you love the hidden-hinge aesthetic, go for a line like iEuro Custom by Ultracraft. It’s designed with high-quality concealed hinges that balance beauty with long-term durability.
Mistake #4: Skipping regular maintenance.
Over time, doors sag or stick because hinges loosen.
A quick quarterly check with a screwdriver can prevent bigger repairs later. Think of it as “oil changes” for your cabinets.
FAQs: How to Fix Hinges & Adjust Cabinet Doors
Yes! Many overlay and concealed hinges allow soft-close upgrades with minimal effort. iStyle lines are especially DIY-friendly.
Not usually, especially on overlay or European hinges. Inset cabinet hinges require more precision.
Use the built-in tension screw or dial, usually located inside the hinge cup. Turn slowly and test frequently.
Fill stripped holes, reposition hinge, and reinstall screws. Use a shim or backing plate for extra security.
Start with the door on the hinge if possible, then secure to the cabinet frame for easier alignment.
Fix Your Hinges & Make Your Cabinets Look Brand-New
A misbehaving cabinet door doesn’t mean a full kitchen remodel. With a little know-how, the right adjustments, and some smart upgrades, your doors can close smoothly and operate like new.
Explore iCabinetry’s lines for inspiration and quality cabinets designed for both style and function:
- iEuro Custom: Sleek, concealed hinges with a smooth finish
- iStyle Custom by Starmark: Easy-to-adjust, DIY-friendly hinges and soft-close options for overlay doors
- iStyle Custom Inset by Starmark: Perfect for hidden, seamless hinges, ideal for high-end finishes
🛒 Browse iCabinetry Lines →
💡 Explore More Cabinet Guides →
📝 Get a Free Quote →