Let’s be honest, measuring your kitchen cabinets isn’t the fun part. But get it wrong, and you’ll feel it – in your wallet, and in your remodel timeline. Imagine your new cabinets arrive, and the fridge panel is two inches short. Suddenly, you’re only eating takeout dinners for the next 4-6 weeks.
So, how do you measure kitchen cabinets the right way? Measure the room, mark any obstruction locations, then measure each cabinet box and door. Finally, double-check every dimension before you order. Accurate cabinet measurements mean fewer surprises and no expensive reorders.
This guide will teach you how to measure kitchen cabinets step by step like a pro, from wall widths to door hinges. By the end, you’ll avoid unnecessary stress and get the kitchen look you actually planned for.
Accurate Cabinet Measurements: Does it Even Matter?
Accuracy is fundamental to your remodel.
Why? A one-inch mistake isn’t so much embarrassing as it is expensive. Too-small cabinet doors, panels that don’t line up, and missing filler strips can lead to factory reorders or costly onsite fixes.
Not to mention, the remodel deadline keeps getting pushed back; no one likes to have a demolition site in their kitchen.
Common errors happen because people only measure the wall width. Don’t forget to account for:
- Appliances
- Vents
- Soffits
- Door swings
If you’re replacing cabinets, it’s essential to measure cupboards, doors, and hinge positions, too. For kitchen planning and best practices, the NKBA has handy standardized guidelines.
🛠️ Pro Insight: Do this one small, early check: measure appliance depths with handles and trim. This prevents most fit problems later.
The Right Tools for Measuring Kitchen Cabinets
You don’t need fancy gear to do this right.
Gather the following tools for your project:
- Tape measure (25 ft recommended), and a 2-meter folding rule if you prefer rigid tools
- Pencil and notepad, or printed graph paper
- Level and small carpenter’s square
- Painter’s tape to mark measurements on cabinets or walls
- Smartphone camera to photograph measurements and locations
- Optional: a laser distance measurer and a kitchen planning app for digital sketches
Before you start, clear counters and remove loose items from cabinet fronts.
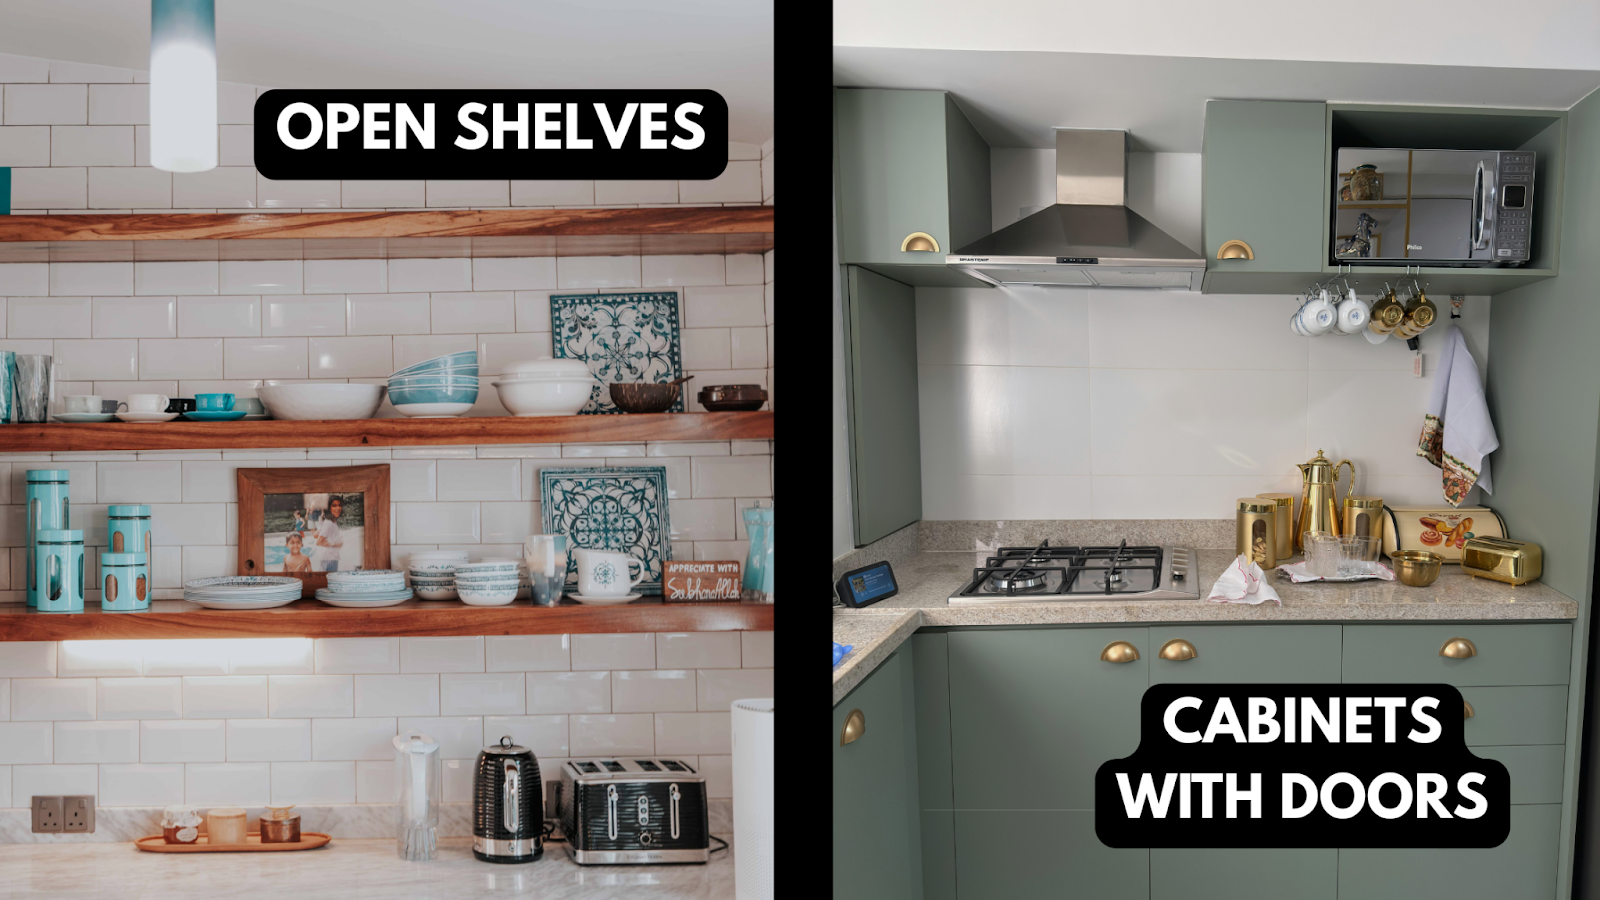
Our Inspiration Gallery is a great place to visualize layouts while you measure.
Step-By-Step Kitchen Cabinet Measurement Guide: For DIYers & Contractors

Below is the workflow most contractors and professionals use.
Record every number clearly, and take photos of each area with measurements written on painter’s tape.
Step 1 — Measure the overall kitchen space.
Measure wall-to-wall widths and record ceiling height in at least three places. Note soffits, dropped ceilings, and the location of vents or ductwork.
- Measure each wall at the top, middle, and bottom, and record all three numbers. Walls are rarely perfectly straight.
- Measure floor-to-ceiling in three places. If the ceiling slopes, note that.
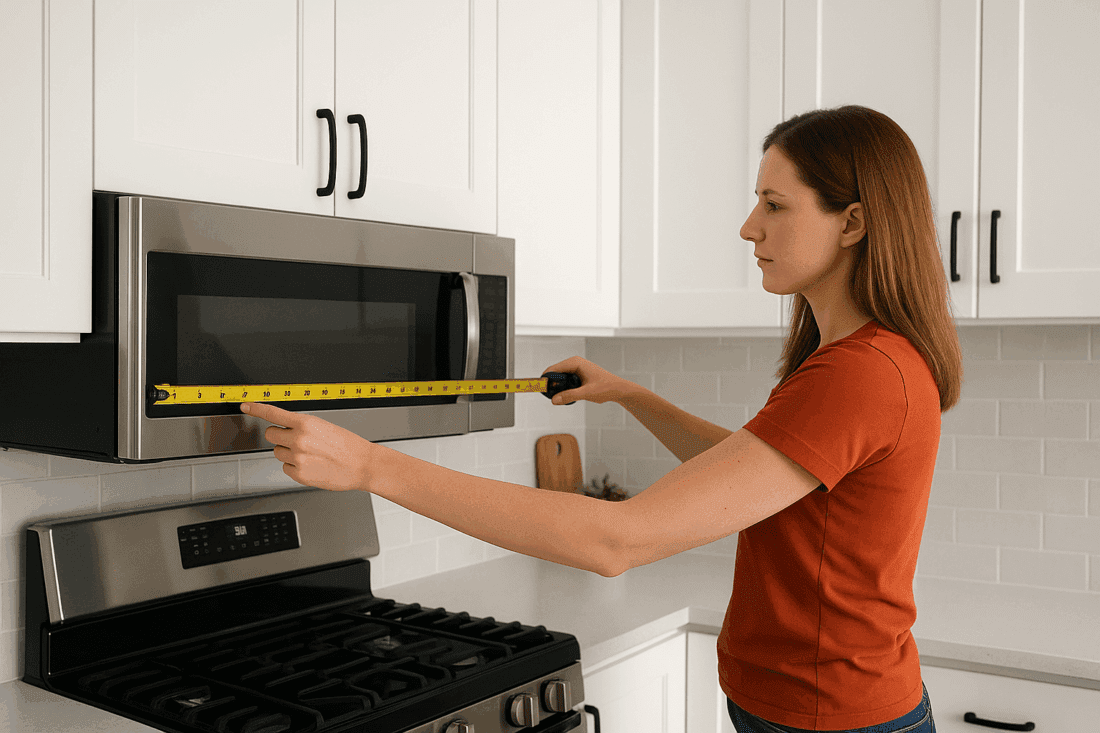
Step 2 — Mark appliances, windows, and doors.
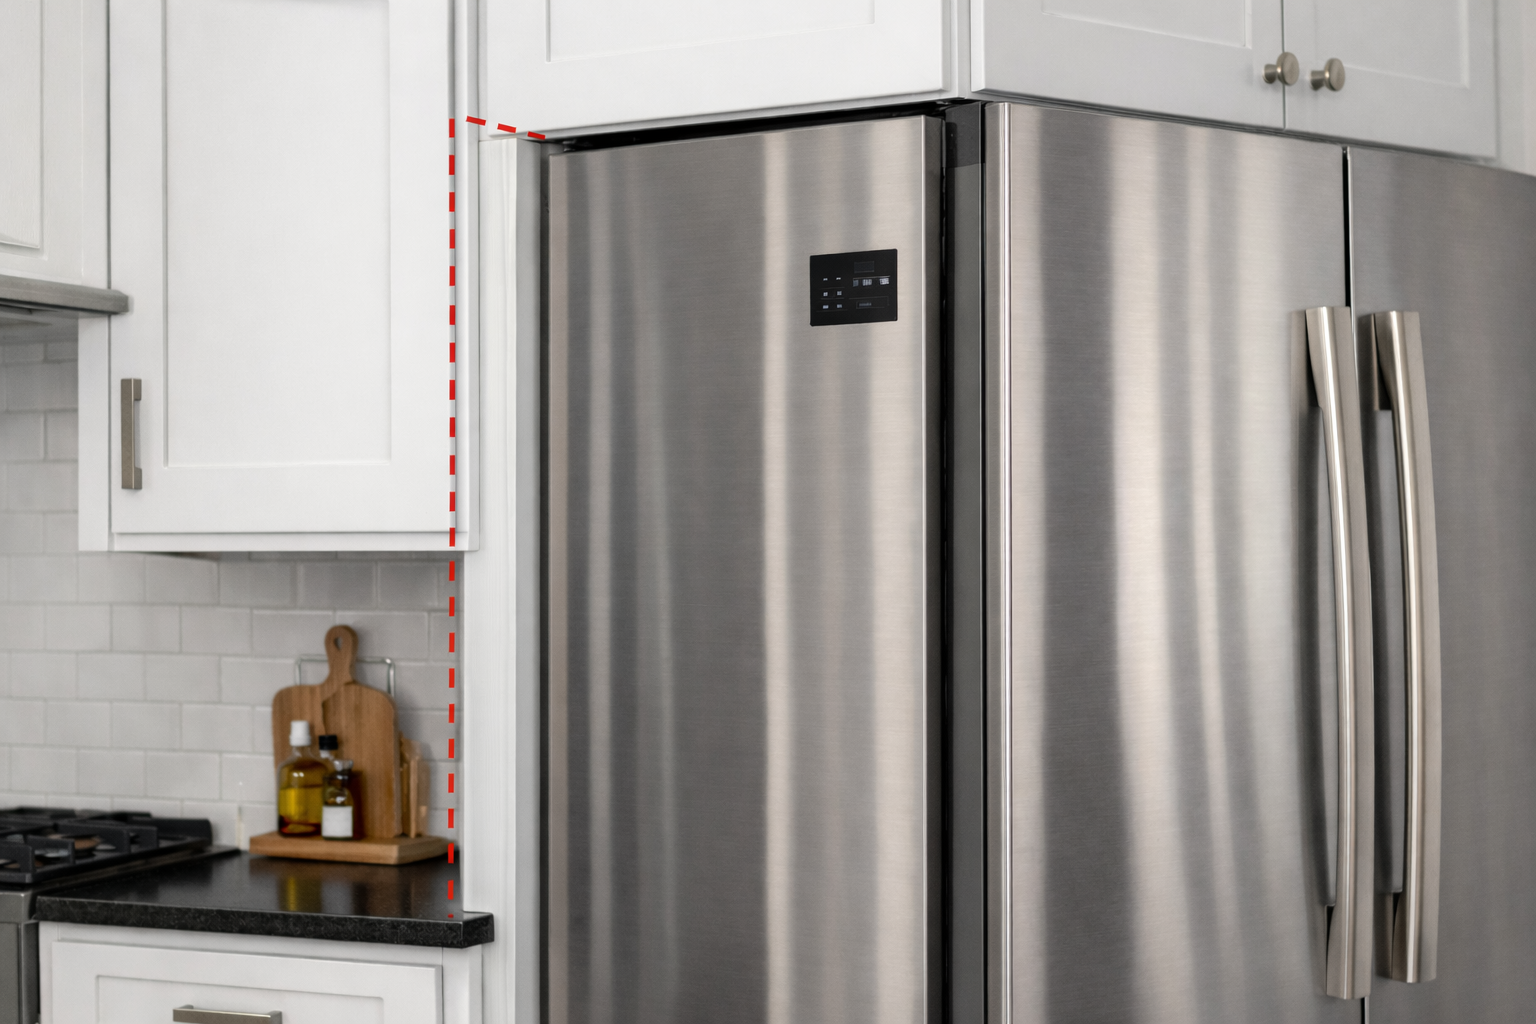
Measure clearances for range, hood, fridge, dishwasher, microwave, and any built-in ovens.
- Record appliance width, depth (including handles), and full height.
- Mark door swing clearances and window sill heights.
- Note plumbing locations, gas lines, and electrical outlets.
🛠️ Pro Insight: Always measure appliances with the handles on. A fridge box might be 32 inches, but the handles can add two more, which is enough to throw off your cabinet spacing.
Step 3 — Measure existing cabinet boxes (for replacement projects).
If you’re replacing cabinets, record each box’s width, height, and depth. Write the cabinet location on every drawing (e.g., “Base A: left of range”).
- Measure the internal opening and the external box face.
- Note the cabinet’s construction: inset or overlay style.
- Record toe-kick height and cabinet baseboard details.
🛠️ Pro Insight: Many older cabinets are shallower than today’s standard 24 inches. Make sure you check the depth carefully – that gap can mess with your counters.
Step 4 — Measure cabinet doors and hinges.

This step is only needed if you’re replacing drawer fronts.
First, record door type and exact hinge positions.
- Measure door width and height, from edge to edge. If doors have bevels, note that.
- For inset doors, measure the reveal size. This is the tiny gap between the door and the cabinet frame.
- For overlay doors, record the amount of overlap between the door and cabinet face.
To make things easier, draw the door face, mark the hinge cup center, and write the hinge-to-edge distance. This is the most useful dimension for hinge placement on new doors.
How to Measure Cabinet Hinges
To measure cabinet hinges, start from the hinge cup center to the inside edge of the door, measuring the cup diameter.
Note hinge type (butt hinge, soft-close, self-close) and whether hinges are full overlay, partial overlay, or inset. Photograph the hinge with a caption.
🛠️ Pro Insight: If hinges are adjustable, note the range – it helps with minor door hinge fixes after install.
Step 5 — Measure drawer fronts and accessories.
This step is only needed if you’re replacing drawer fronts.
Measure drawer width, height, and reveal. For full-extension drawers, measure internal box depth and the hardware locations for slides.
- Record cutout sizes for sink cabinets and garbage disposals.
- Note locations for under-cabinet lighting or appliance garages.
Once the larger structures are recorded, focus on smaller details like drawers and accessories.
Step 6 — Double-check and record.
Cross-check every measurement. Tape a label to each cabinet or wall section with the dimensions and a photo.
- Save all photos and notes to a folder or phone album with name tags.
- Use painter’s tape on walls to mark key points.
Still not sold on the perfect cabinet type for your renovation? Get some cabinet shopping done right here →
Avoid These Measuring Mistakes 🙅♀️
Here are some common measuring mistakes that DIY homeowners and even contractors make. Avoid these to prevent setbacks!
- Measuring to the wrong surface. Measure to the finished wall, not to the studs.
- Forgetting molding or baseboards. These add thickness and change the cabinet’s fit.
- Ignoring door swing and appliance clearances.
- Not accounting for overhangs, such as countertop or hood trim.
- Recording numbers, but not labeling where they belong in diagrams.
If you want help avoiding these, a design review from iCabinetry checks your dimensions before anything goes into production.
Stress-Free Kitchen Cabinet Measuring: Pro Tips
- Work with an assistant. One person holds the tape, the other records numbers.
- Use graph paper to sketch a scaled room plan. Not a fan of drawing? Try a free online planner tool to input measurements.
- Label every photo and sketch. “Left of sink” vs “right of sink” matters.
- Order samples for the finish and door profiles, so you can confirm customization choices while measuring.
- If you’re installing yourself, measure for shipment access. How will the cabinets be moved into the kitchen?
🛠️ Pro Insight: Tackling an inset cabinetry install yourself? We have a step-by-step guide for you →
Do this after you measure…
Once your measurements are complete, these are the next steps:
- Create a simple scale drawing showing cabinet locations, appliance openings, and critical heights.
- Upload your photos and sketches to a supplier or design team. If you work with iCabinetry, start here — our team reviews every plan for the perfect fit before production.
- Ask for 3D renderings and confirm clearances in that model.
- Order a sample door and edge banding before finalizing finishes.
These 2025 cabinetry trends & ideas can help you choose styles that fit your space.
FAQs: How to Measure Kitchen Cabinets
Measure the external box width, height, and depth. Note overlay type, hinge location, and toe-kick height. Photograph each cabinet and label the photos.
Measure door width and height from edge to edge. For inset doors, also measure the reveal gap. If hinges are present, measure the hinge cup center to the door edge.
Measure from the center of the hinge cup to the door edge, and record the cup diameter and hinge type (concealed European, butt hinge, etc.). Note if hinges are full overlay, partial overlay, or inset.
If you’re comfortable with tape measures and recording data, you can do it yourself. For complex or inset systems, use a design review from a pro. Many DTC cabinet suppliers offer measurement checks.
Record measurements to the nearest 1/8 inch where possible. Rounding to 1/4 inch is acceptable, too. Avoid whole-inch rounding for important openings and hinge positions.
Measure it Right, Enjoy Your Dream Kitchen Cabinets
Measuring your kitchen might not be exciting, but it’s the key to a successful remodel. A slip of the tape measure could cost you hundreds in reorders, while a careful double-check saves you thousands.
With a tape measure, a notepad, and a few of these pro tricks, you can measure kitchen cabinets with confidence. And if you’re second-guessing your math, iCabinetry’s expert team is your safety net. Get in touch – we’re here to help.
📌 Next Steps